
If your organization cannot deploy the CanIPhish Report Phish Outlook Add-in, either due to a compatibility issue (e.g. Outlook 2013/2016) or due to a preference to use Microsoft's add-in, we support an integration that will allow you to track simulated phishing email reports.
Table of Contents
- Prerequisite: Get Your Unique CanIPhish Reporting Mailbox
- Step 1. Deploy The Microsoft Report Message/Phish Add-in
- Step 2. Create An Email Address For User Submissions
- Step 3. Configure An Email Address For User Submissions
- Step 4. Configure A Mail Flow Rule To Forward Reports To CanIPhish
- Appendix A: Microsoft Report Message/Phishing Add-in Causing False Positives
Prerequisite: Get Your Unique CanIPhish Reporting Mailbox
a. Locate your dedicated tenant-specific CanIPhish mailbox. This mailbox can be found by going to Reporting > Reported Emails > Advanced Settings:
b. Your dedicated tenant-specific CanIPhish mailbox is located in the Forwarding Inbox field. Copy this to your clipboard or text editor for use later.
c. If you haven't already, make sure your Email Reporting Status is set to Enabled.
Step 1. Deploy The Microsoft Report Message/Phish Add-in
-
In the Microsoft 365 admin center at https://admin.microsoft.com, expand Show all if necessary, and then go to Settings > Integrated apps. Or, to go directly to the Integrated apps page, use https://admin.microsoft.com/Adminportal/Home#/Settings/IntegratedApps.
-
On the Integrated apps page, select
 Get apps.
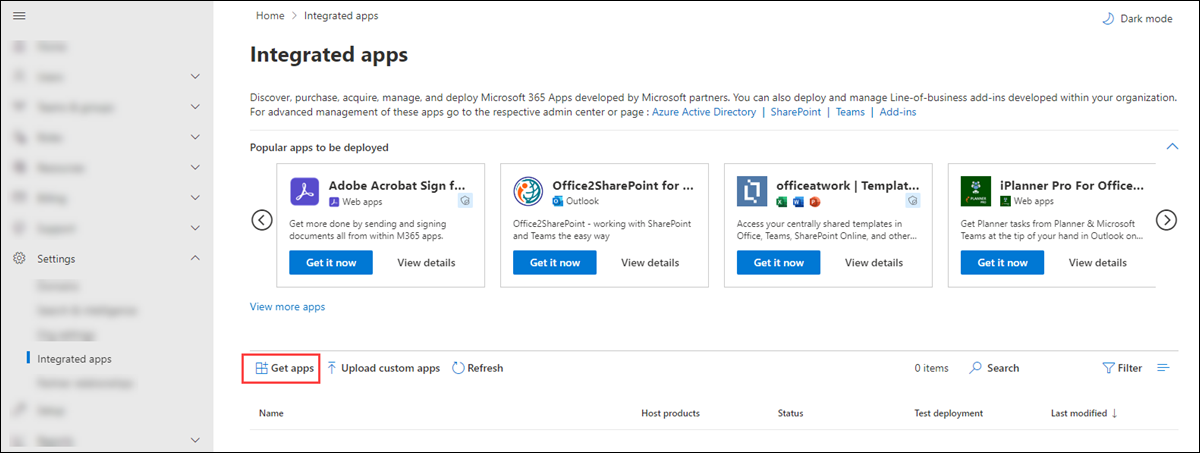
-
In the Microsoft 365 Apps page that opens, enter "Report Message" in the
 Search box.
In the search results, select Get it now in the Report Message entry or the Report Phishing entry to start the Deploy New App wizard.
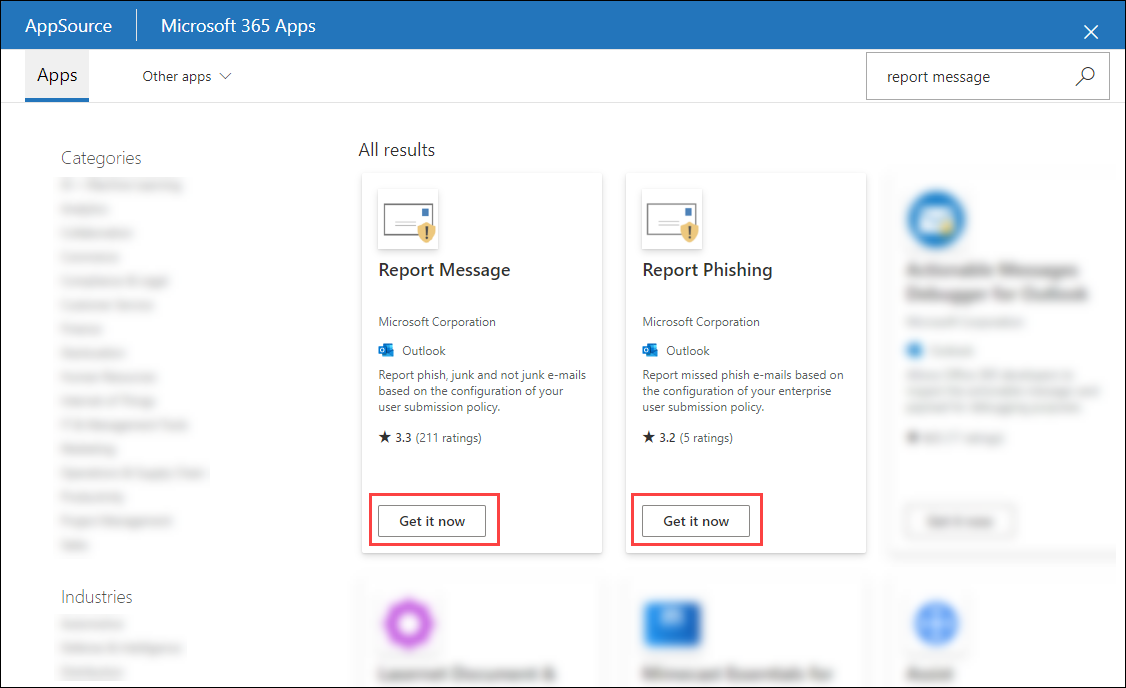
Note: Although the screenshots in the remaining steps show the Report Message add-in, the steps are identical for the Report Phishing add-in.
-
On the Add users page, configure the following settings:
-
Is this a test deployment?: Leave the toggle at
 No.
No. -
Assign users: Entire organization
-
Email notification: Send email notification to assigned users can remain ticked or be turned off. This setting just notifies employees that the add-in has been installed.
When you're finished on the Add users page, select Next.
-
-
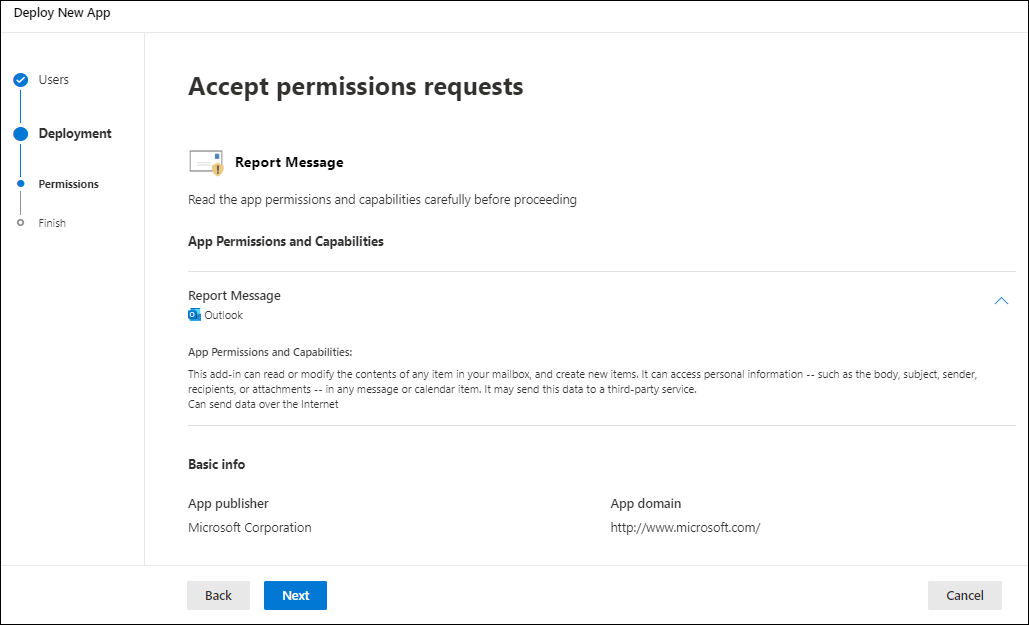
On the Accept permissions requests page, read the app permissions and capabilities information carefully before you select Next.
-
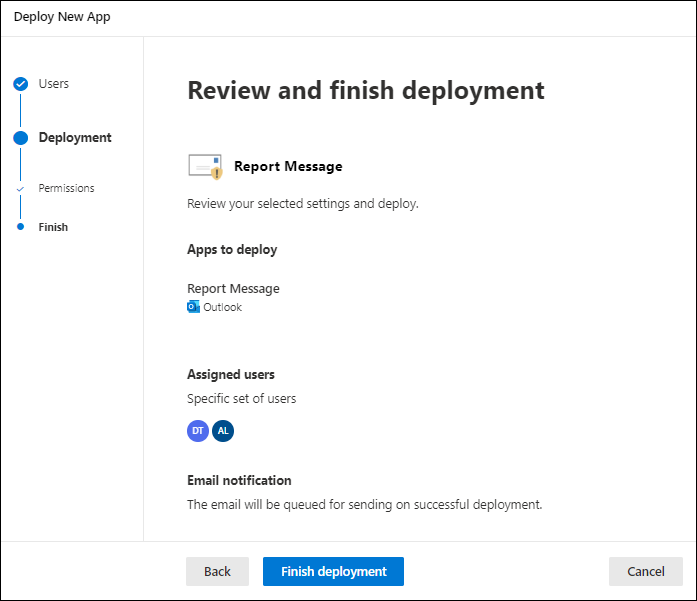
On the Review and finish deployment page, review your settings. Select Back to make changes.
When you're finished on the Review and finish deployment page, select Finish deployment.
A progress indicator appears on the Review and finish deployment page.
-
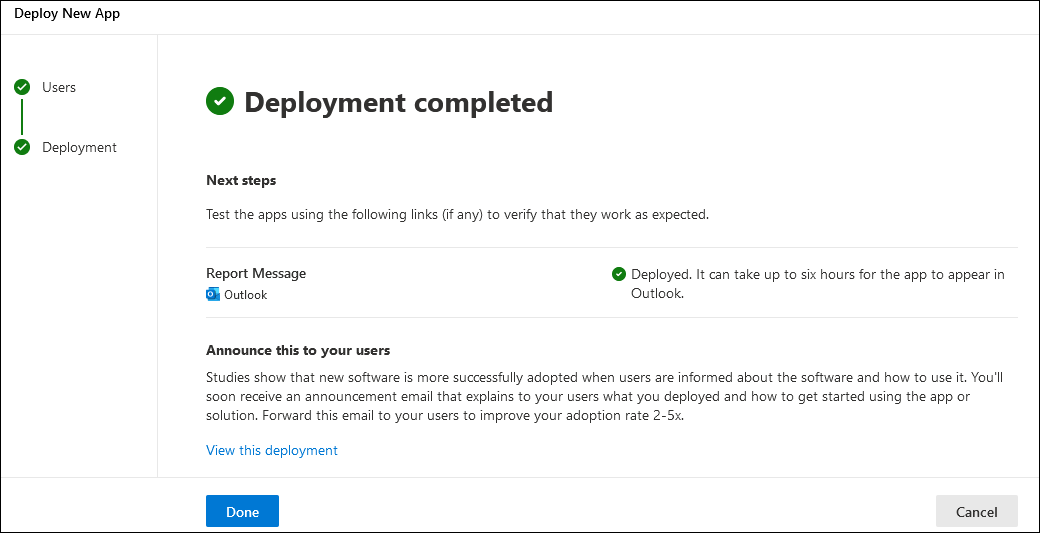
On the Deployment completed page, you can select view this deployment to close the page and go to the details of the add-in. Or, select Done to close the page.


Step 2. Create An Email Address For User Submissions
When an employee reports an email via the Report Message or Report Phish Add-in, the email will be forwarded as an attachment to a custom mailbox. This mailbox needs to be an address that you control. We recommend using a shared mailbox, which can be created as follows:
- In the Microsoft 365 admin center at https://admin.microsoft.com, go to Teams & groups > Shared mailboxes.
- Click "Add a shared mailbox" and then give the mailbox a name to uniquely identify it (e.g. Phish Report, with an email such as phishreport@<your-domain>.
Step 3. Configure An Email Address For User Submissions
Once a shared email address has been configured, we can proceed with updating the Report Phish or Report Message Add-in to forward user submissions to this email address.
- Go to the User Submissions section of Microsoft 365 Defender. This can be found at: https://security.microsoft.com/securitysettings/userSubmission or by going to Microsoft 365 Defender and going to Settings > Email & Collaboration > User reported settings.
- Many configurations are optional. The only necessary configurations are highlighted below:
-
Monitor reported messages in Outlook: Ticked
-
Select an Outlook report button configuration: Use the built-in Report button in Outlook
- Reported message destinations: Microsoft and my reporting mailbox OR My reporting mailbox only
-
Add an exchange online mailbox to send reported messages to: Enter the email address of the shared mailbox created in Step 2.
-
Monitor reported messages in Outlook: Ticked
- Click Save once configured.
- Notify Microsoft that the newly created mailbox is a "SecOps mailbox" to ensure emails are forwarded and not quarantined/filtered. To do this, please go to: https://security.microsoft.com/advanceddelivery?viewid=SecOpsMailbox
Note: Guidance from Microsoft on why this is required can be located here: https://learn.microsoft.com/en-us/defender-office-365/submissions-user-reported-messages-custom-mailbox#configuration-requirements-for-the-reporting-mailbox - Click the "Add" button in the middle of the screen (or Edit if a SecOps mailbox already exists):
- Search for and select the newly created "phishreports@" mailbox and then click the "Add" button:
- You're all done with this step!
Step 4. Configure A Mail Flow Rule To Forward Reports To CanIPhish
This mail flow rule ensures only simulated phishing emails are forwarded to CanIPhish. However, you can tweak it so all emails are forwarded, if this is preferred.
- Visit the Exchange Admin Center in Microsoft 365 (https://admin.exchange.microsoft.com/)
- Go to Mail flow > Rules.
- Create a new mail flow rule.
- Specify a name for the rule. This can be anything you choose (e.g. CanIPhish Forward Phish Report).
- In "Apply this rule if", select "The recipient", followed by "is this person", followed by the shared mailbox created in Step 2 & 3.
- Click the "Add condition" button next to the rule just created.
- Under the "And" field heading, select "The subject or body", followed by "subject or body includes any of these words". Then enter the following:
- 3.106.21.22
-
13.237.47.221
IMPORTANT NOTE: If you are using Direct Email Injection (DMI), then CanIPhish emails will not contain these keywords (because they are being injected via an API, as opposed to our email servers). Please additionally add one (or all) of the below keywords: - Your Tenant ID (e.g. add438f5-a751-4229-5ef3-191983d6b982)
- X-CanIPhish (if white-labelling isn't setup)
- X-SIMPHISH-GUID (if white-labelling is setup)
- Under the "Do the following" heading, select "Add recipients", followed by "to the Cc box". In the pop-up box that appears, enter your CanIPhish Forwarding Inbox Email Address (collected during the Prerequisite step):
Example snippet of mail flow rule entry:
- Verify that your mail flow rule looks similar to the below (noting the recipient is your own shared mailbox created in Step 2/3, and your own CanIPhish tenant IDs are used for the other filters) and then click Next:
- Ensure the Rule mode is set to "Enforce" all other values can be left as their default value. Click Next
- Review the final mail flow rule and then press Finish!
- By Default the newly created rule will be Disabled. Once saved, please click on the new rule and make sure to Enable the rule:
You're All Done! If you run into any issues during the setup process, please don't hesitate to contact the CanIPhish support team.
Appendix A: Microsoft Report Message/Phishing Add-in Causing False Positives
When an email is reported using Microsoft's Report Message/Phishing Add-in, Microsoft will sandbox the email and detonate links/attachments within it to understand if the email is, in fact, malicious. The detonation of these payloads can cause false positives, and to counteract this, the team at CanIPhish has built-in logic that attempts to identify and suppress these false positives - however, this is not 100% accurate.
If the guidance in this support article is followed and you're experiencing false positive detonations from Microsoft, please go to Platform Settings > Phish Settings > False Positives and update the configuration to "Exclude Activity" from Microsoft. You can find more information within our False Positive Suppression Guide.
Comments
0 comments
Please sign in to leave a comment.