
To ensure CanIPhish can effectively simulate phishing campaigns, you will need to allowlist our emails. We recommend allowlisting by either IP address or Email Header depending on the use-case.
Allowlisting can be tricky and may require some trial and error. If you're unsuccessful with this method, please check out our guide on allowlisting by Email Headers, which can be found here.
Note: When allowlisting for Microsoft/Office 365, we STRONGLY recommend implementing an ATP bypass to avoid potential false-positives in your campaigns. Steps to Bypass ATP can be found here.
Overview
Allowlisting is done in four steps. These steps comprise of setting up an IP allowlist for CanIPhish mail servers, explicitly IP allowlisting CanIPhish from EOP spam and clutter filters, IP allowlisting CanIPhish from junk folder filters and finally setting up an inbound mail connector to avoid CanIPhish from hitting inbound rate limiting thresholds from a single sender. All of these steps must be done to fully allowlist our servers.
- Step 1. IP Allowlisting CanIPhish Mail Servers
- Step 2. Bypass clutter and spam filtering
- Step 3. Bypass the Junk Folder (Microsoft/Office 365 Only)
- Step 4. Avoid Mail Deferments (Microsoft/Office 365 Only)
Step 1. IP Allowlisting CanIPhish Mail Servers
Note: See https://docs.microsoft.com/en-au/microsoft-365/security/office-365-security/configure-the-connection-filter-policy?view=o365-worldwide for corroboration on how IP Allowlisting is performed.
1. Log into the Microsoft/Office 365 portal and select Admin centers > Security.
2. Select Threat management > Policy > Anti-spam.
4. Select Connection filter policy > Edit connection filter policy.
5. Input the CanIPhish Mail Server IPv4 Address under the "Always allow messages from..." heading and select Save.
IPv4 Address:
3.106.21.22
13.237.47.221
6. Select Close and then proceed to Step 2. Bypass clutter and spam filtering.
Step 2. Bypass clutter and spam filtering
This step is also crucial to avoiding Microsoft's Exchange Online Protection (EOP) as it performs spam filtering in multiple places, requiring multiple forms of allowlisting.
1. Go to your MS Exchange/Office Admin Center and click Mail Flow > Rules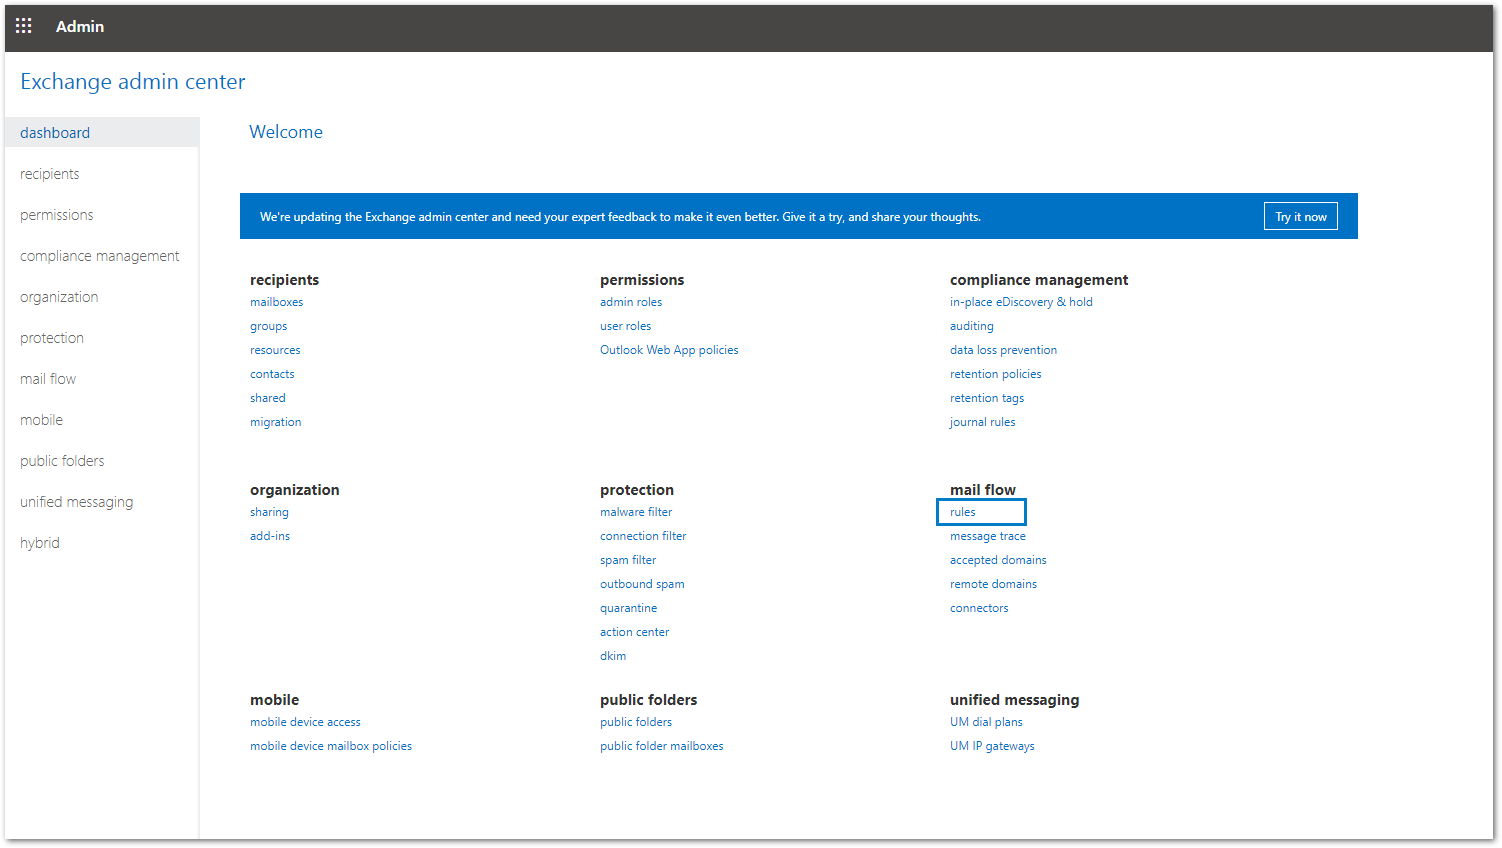 2. Click the "+" and "Bypass spam filtering..."
.
3. Give the rule a memorable and easy-to-understand name, then under *Apply this rule if... select The sender... > IP address is in any of these ranges or exactly matches.
4. Then enter the CanIPhish IP addresses, hitting the + sign for each. (A complete list of our IP addresses can be found here.) Then click Ok.
5. Under *Do the following... hit Modify the message properties... > set a message header.
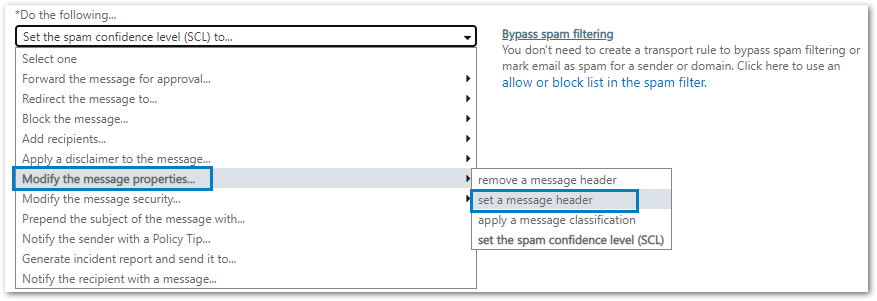
6. Edit the properties of this by selecting the Enter text buttons:

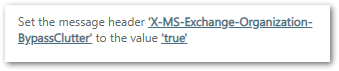
Use the following entries:
Set the message header to "X-MS-Exchange-Organization-BypassClutter" to the value "true"
7. Hit add action.

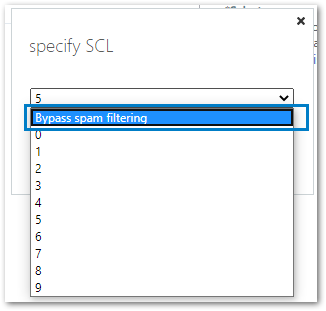
8. From the drop-down menu, select Modify the message properties... > set the spam confidence level (SCL).
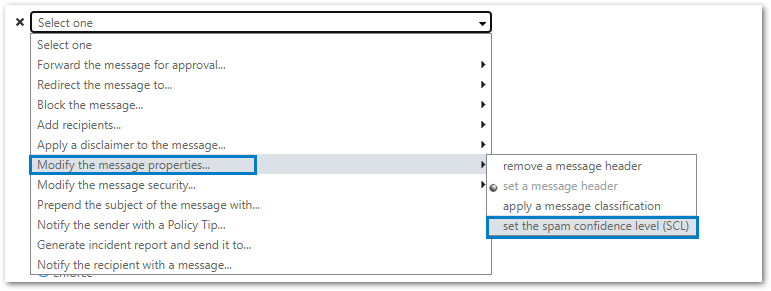
Set it to "Bypass spam filtering"
9. Leave all remaining settings as their default values and hit Save.
If you're using Microsoft/Office 365, you will need to complete Steps 3 & 4 below, if you are just using Microsoft Exchange, you're done!
Make sure to run some test campaigns to a small group of recipients, checking both spoofed and external domain templates, before running an organisation-wide campaign.
Step 3. Bypass the Junk Folder (Microsoft/Office 365 Only)
1. Still within the Mail flow section, click the + sign > Bypass spam filtering...
2. Give the rule a memorable and easy-to-understand name, then under *Apply this rule if... select The sender... > IP address is in any of these ranges or exactly matches.
3. Then enter the CanIPhish IP addresses, hitting the + sign for each. (A complete list of our IP addresses can be found here.) Then click Ok.
4. Under *Do the following... hit Modify the message properties... > set a message header.
5. Edit the properties of this by selecting the Enter text buttons:
Use the following entries:
Set the message header to "X-Forefront-Antispam-Report" to the value "SFV:SKI;"

6. Adjust the Priority (if necessary) to be directly after the Bypass clutter and spam filtering rule, created in step two. (Note, the priority may not be visible, if this is the case, save and reopen the rule). Hit Save.
Step 4. Avoid Mail Deferments (Microsoft/Office 365 Only)
This step is crucial in avoiding Microsoft's rate limiting settings.
1. Still within the mail flow section, click connectors.
2. Hit the + sign to create a new connector.
3. In the From: and To: drop-down menus, select Partner organization and Office 365 respectively, then hit Next.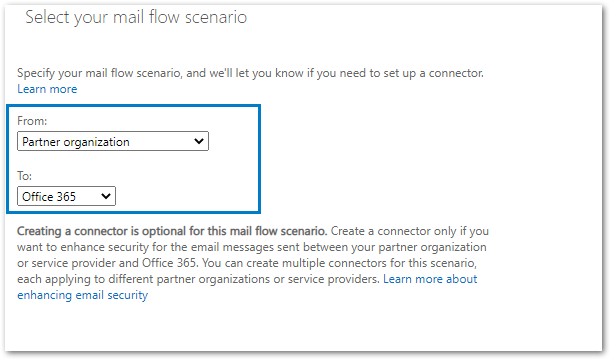
4. Give the connector a memorable and logical name (e.g. CanIPhish Avoid Deferments Connector), add a description if you like (it's optional) then hit Next.
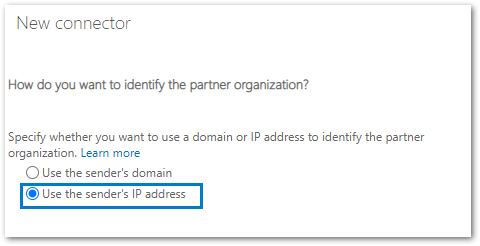
5. On the next screen, hit Use the sender's IP address.
6. Then enter the CanIPhish IP addresses, hitting the + sign for each. (A complete list of our IP addresses can be found here.) Then click Ok.
7. Leave Reject email messages if they aren't sent over TLS unticked and then hit next.
8. Double-check the settings entered are correct, then hit Save.
All done! Allowlisting can be tricky... should you have any difficulties, please don't hesitate to contact us.
Comments
0 comments
Please sign in to leave a comment.